Looking to create sub badges for your Twitch channel but not quite sure where to start? Well, you could get some pre-made templates from sites like OWN3D or Etsy, or hire a designer from a site like Fiverr to make some for you.
Alternatively, you can create your own using an online Twitch sub badge maker. Below we go through a few tools that let you create your own Twitch sub badges (also known as loyalty badges).
First, some tips for your Twitch Sub Badges:
- You need to be a Twitch affiliate or partner to have sub badges for your Twitch channel
- They have to be in PNG file format (or PNG 24)
- You need to create 3 size variations for each of your sub badges:
- 18×18 pixels
- 36×36 pixels
- 72×72 pixels
- File size can’t be over 25kb
- Here are some ideas and inspiration for sub badges on Pinterest and Behance
- Here are some more Twitch sub badge size guidelines
Use the link below to jump to a specific product:
Let’s get to the list.
#1 Canva
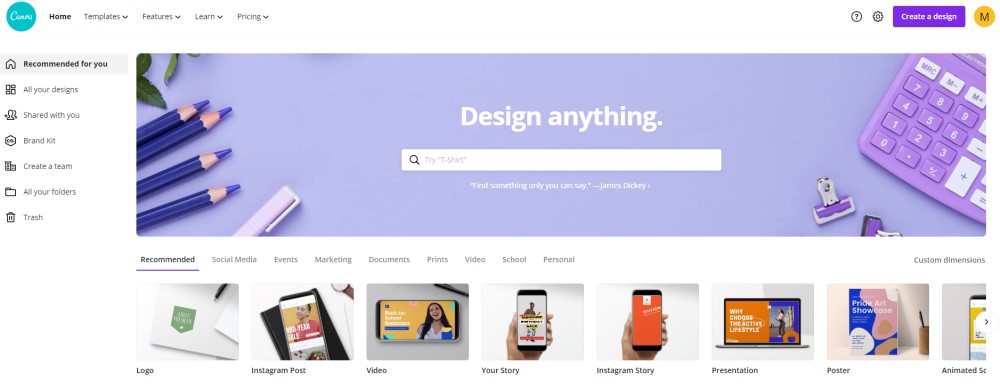
You’ve no doubt heard of Canva before, with their tool you can create all sorts of designs such as YouTube banners, thumbnail templates, social media posts, and so much more.
What you maybe didn’t know is that they have some Twitch banner templates, and can be used for other purposes too, such as a Twitch panel maker, gaming logo maker, offline banner maker, and also as a sub badge maker.
It’s a slightly unconventional way to create free Twitch badges, but if you use their illustrations and/or logos you can create some good-looking designs that work as sub badges.
The best part is that you can even create them for free!
How to create Twitch sub badges with Canva:
- Step 1: Go to Canva’s home page and click ‘Create a design’ at the top right, then select ‘Custom dimensions’, put in square dimensions e.g. 500x500px, and click ‘Create new design’:

- Step 2: Go to the ‘Elements’ tab on the left side menu:
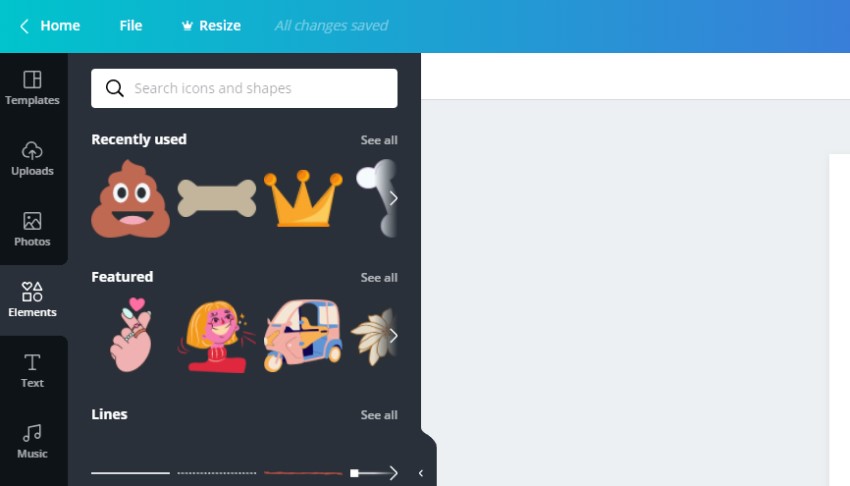
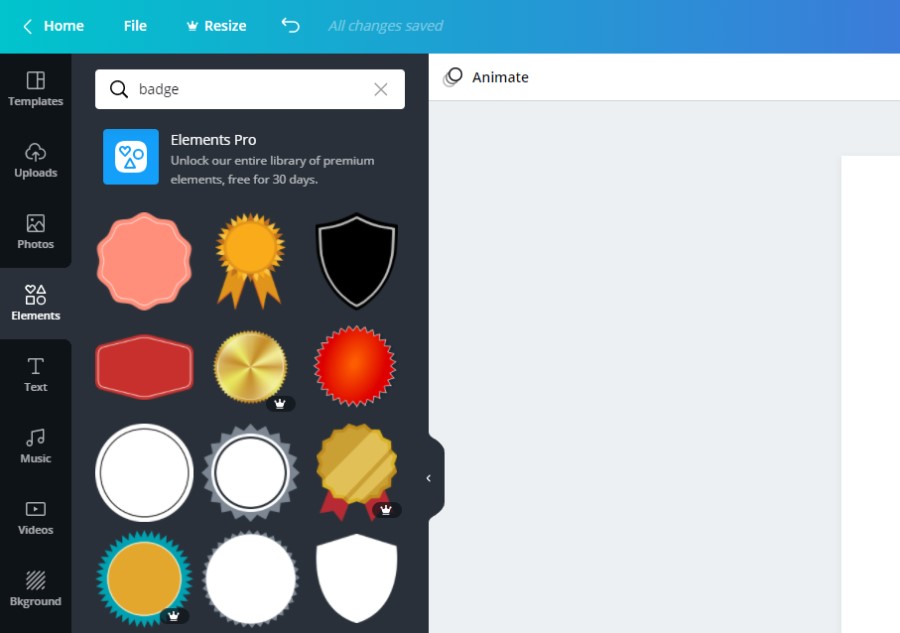
- Step 3: Browse the element categories and choose one that looks interesting, or search in the search bar for specific elements for your sub badge e.g. we’ll search for ‘badge’ (you’ll see that some of the elements have a crown icon over them, this means you can use these if you have a Canva Pro account):
- Step 4: When you select an element it will appear on the main canvas. You can now customize it by resizing, repositioning it, and also by changing the colors:

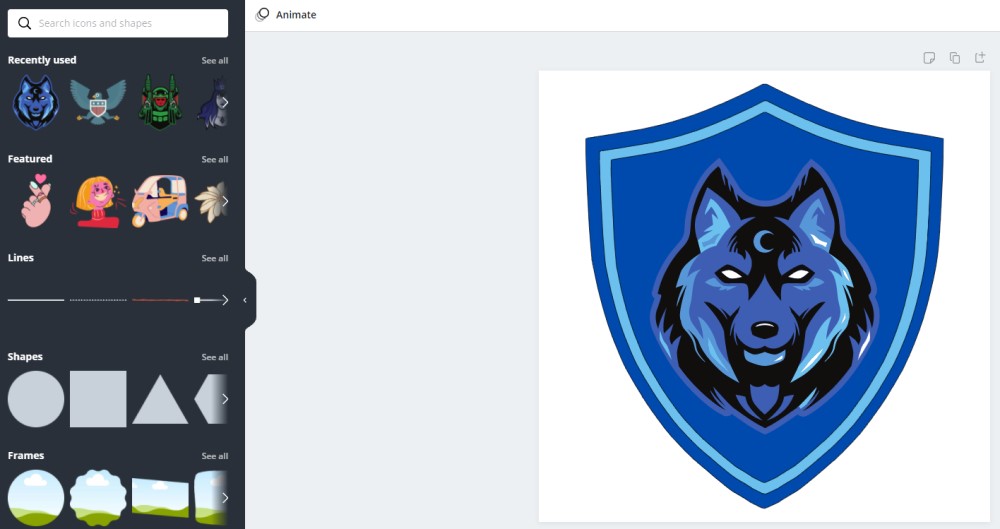
- Step 5: Add other elements by browsing and searching in the elements tab. For example, we search for ‘logo’ and added a cool wolf logo which is also free to use:
- Step 6: After you’ve finished on your first sub badge, you can create 5 more versions to have a badge for every subscriber milestone. The best way to do this is simply to ‘duplicate’ you first sub badge and then modify it:
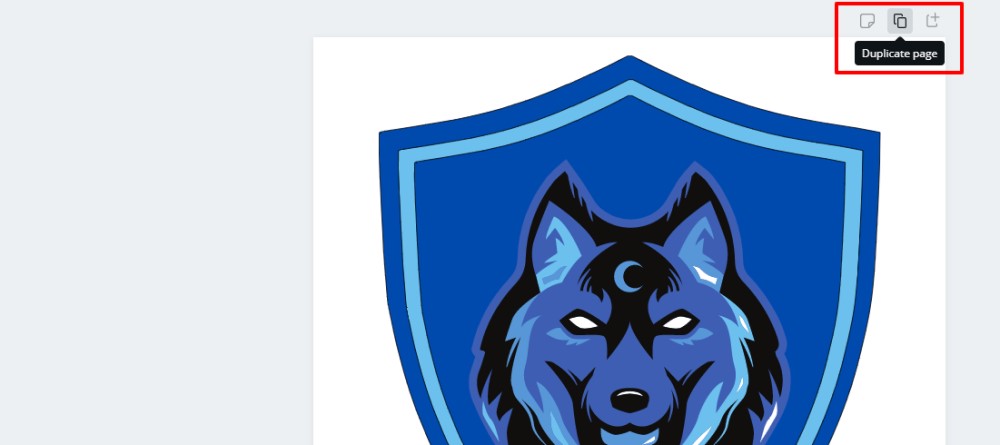
Just click the duplicate icon and the copied design will appear below the first one:
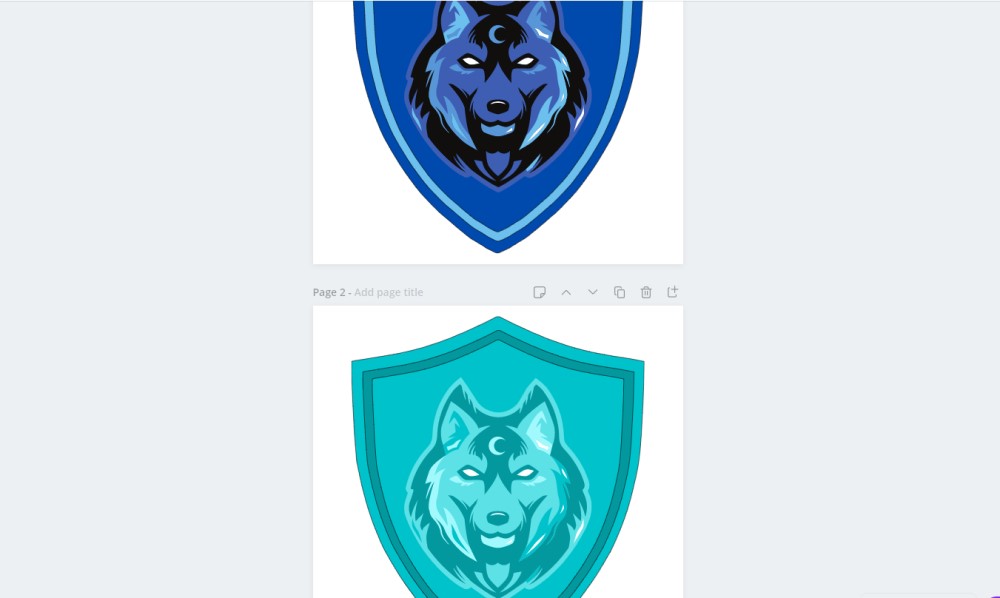
- Step 7: Repeat this until you have 6 versions of your sub badges, and then click the ‘Download’ button at the top right. Make sure all 6 pages are selected and that you’re downloading them in PNG format. Unfortunately, you can only download them with a transparent background if you have Canva Pro, but we’ll show you how to get a transparent background anyway in the next step:

- Step 8: Once you’ve unzipped the download file, go to a site called Kapwing. This is where we’ll remove the background and resize the images for Twitch (for free).
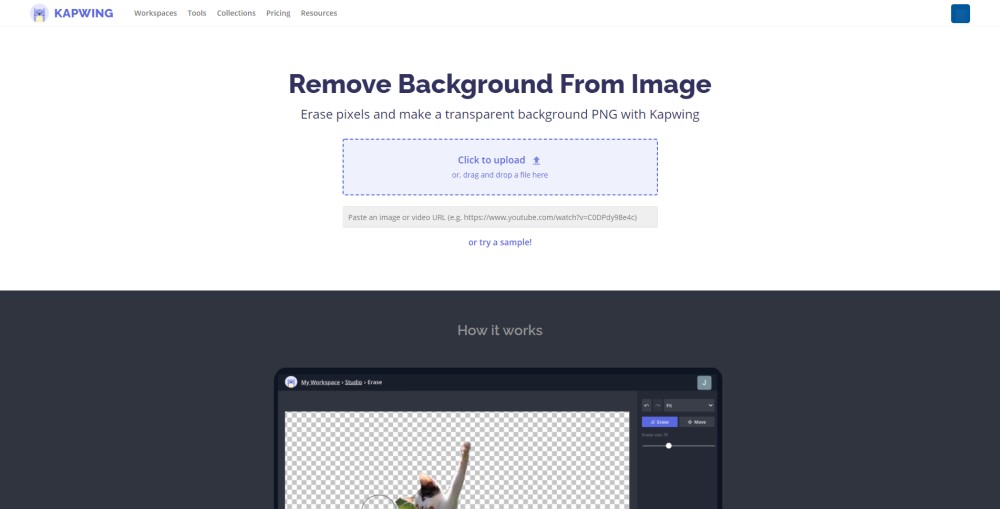
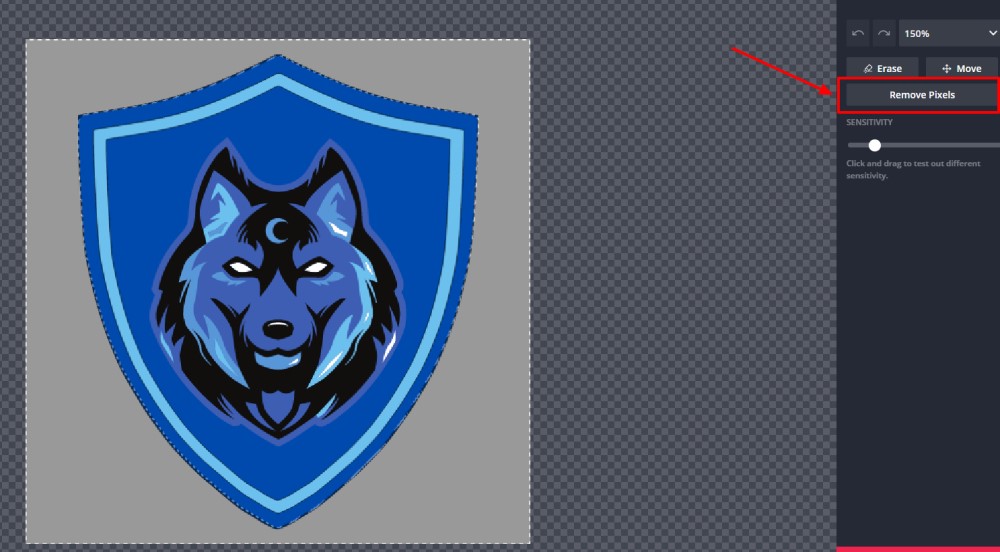
- Step 9: Upload your first image into the tool, and select the ‘Magic Wand’ option from the right side menu. Then click on the background of your image. It’s much easier for the tool to grab the whole background if it’s a solid color. Once it’s selected click ‘Remove pixels’ and the background color will disappear:
- Step 10: Click ‘Done’ and you’ll be returned to the previous screen (with your image now without a background). Click on the black space on either side of your image to change the menu options on the right side:
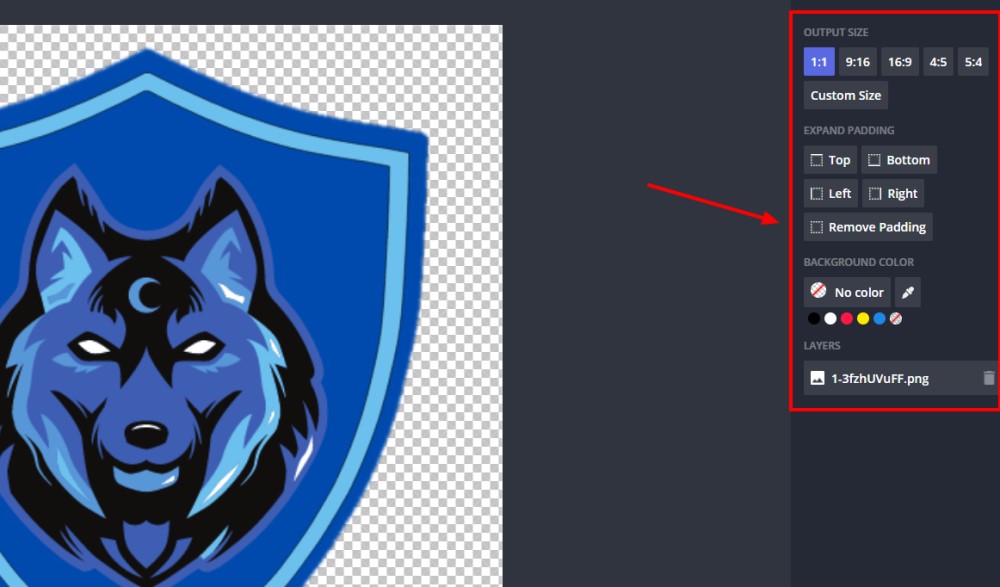
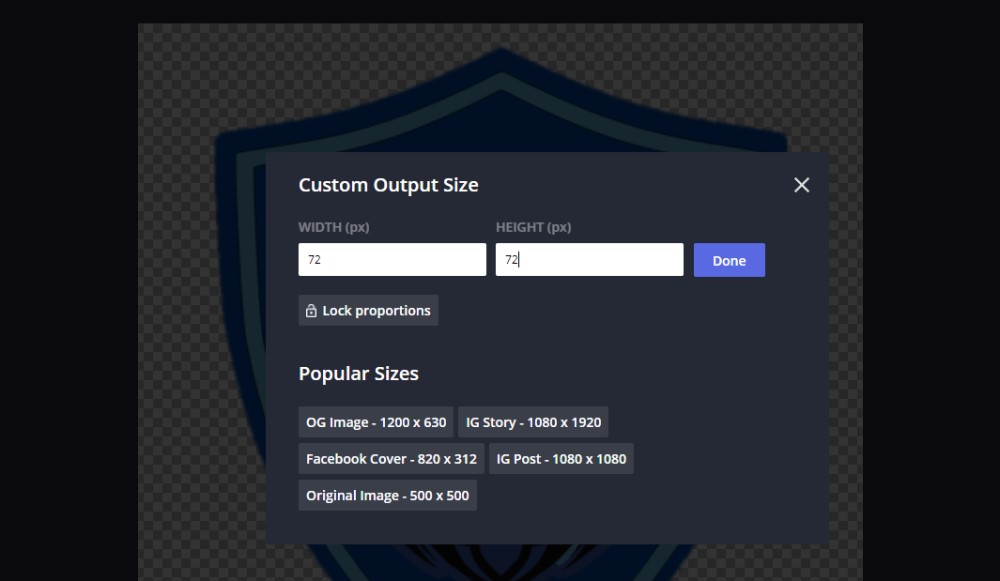
- Step 11: Click ‘Custom size’ and then input the first file size you need for the Twitch Sub Badges requirements e.g. 72 x 72 pixels, and click ‘Done’:
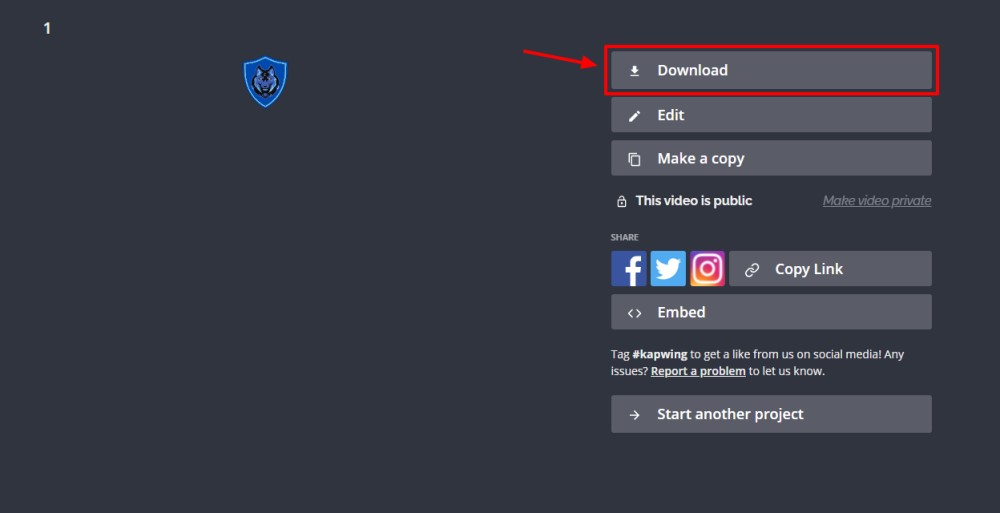
- Step 12: Click ‘Export Image’ at the topic right and then download your file and save it in a relevant folder on your computer:
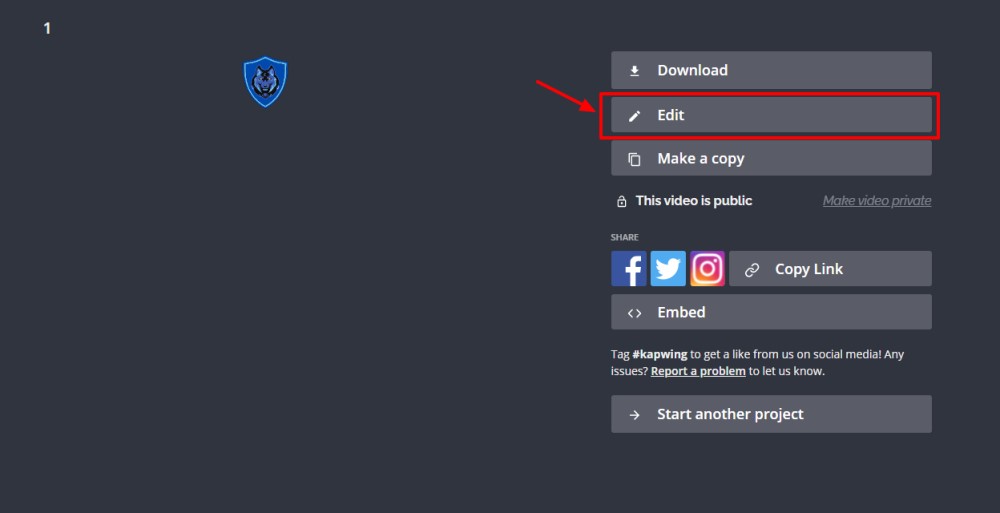
- Step 13: You’ll still be on the same screen, so simply click ‘Edit’ and then download the image in the other two files sizes you need (36x36px and 18x18px):
- Step 14: Repeat the same steps for the other 5 sub badge images
- Step 15: Add them to your Twitch account
Twitch sub badges we made with Canva (for free):
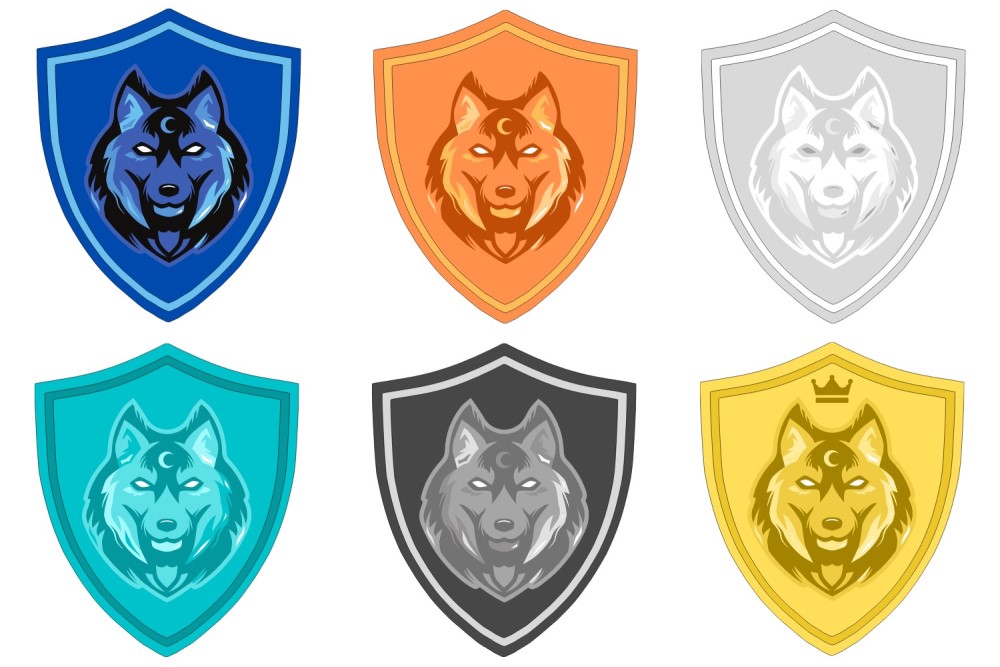
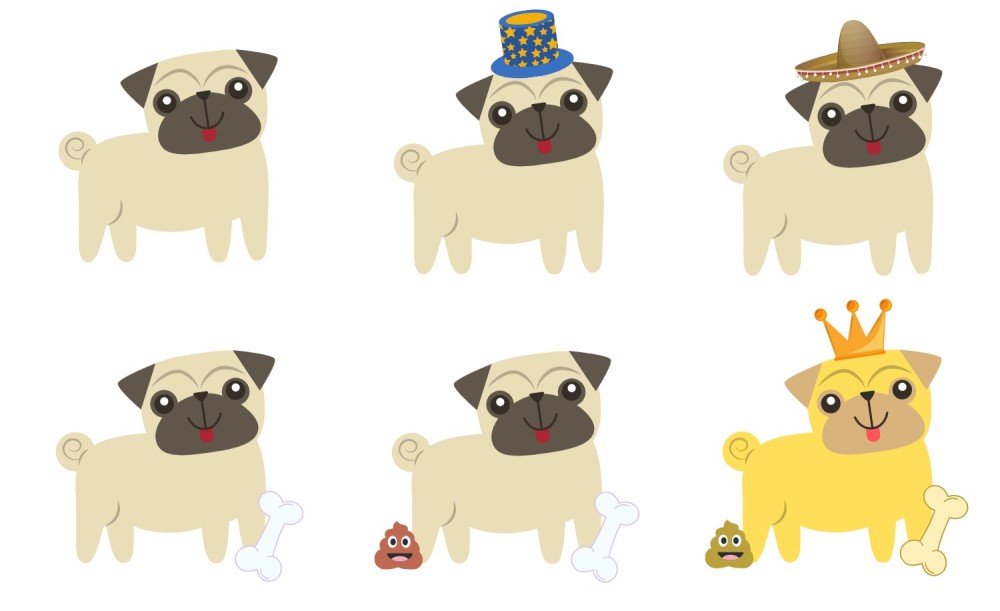
And just for fun we also made these ones:
Pricing:
- Free!
- If you want access to all the elements and features on Canva (such as the ability to download your files with a transparent background) you can subscribe to Canva Pro. You can get a 30-day free trial, after which the prices are:
- $12.95 per month (monthly subscription)
- $9.95 per month (annual subscription)
What we like:
- Easily create unique sub badges
- It’s 100% free
- Lots of elements and graphics to use
- Plenty of customization options
- Super quick to create your designs
#2 OWN3D Badge Maker
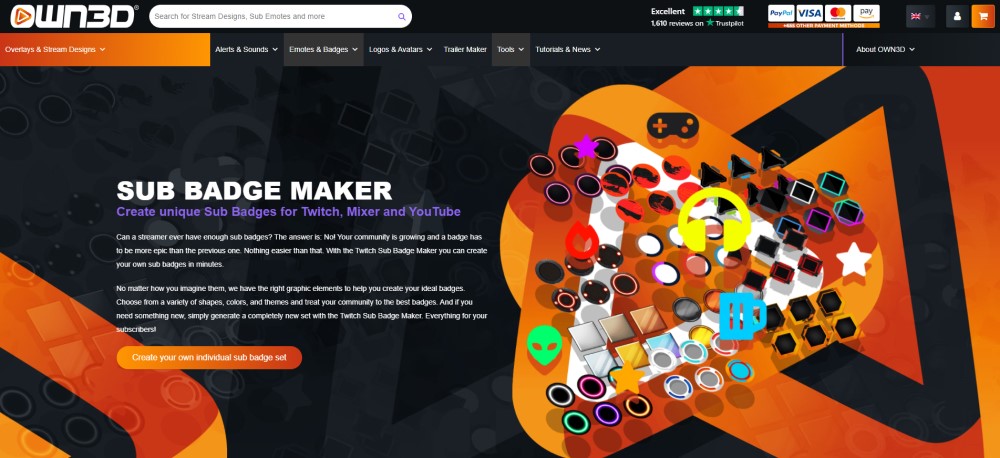
If you’re looking for some high-quality and professional-looking Twitch designs then you should definitely check out OWN3D. Their main offering is quality stream packages but they also offer pre-made sub badge templates and packs, and a Twitch sub badge maker too.
The sub badge maker is super simple to use, and you can very quickly create something that looks decent for your Twitch channel.
However, the customization options are currently fairly limited, and the icons are common clip art so hopefully, they can add more elements and graphics to the tool.
Looking for other sources for stream designs? Check out our article on sites like OWN3D.
How to Make a Sub Badge with OWN3D:
- Step 1: Go to the Badge Maker and choose the base for your badge design:

- Step 2: Choose the elements for each one of your 6 badges (i.e. an Icon, Number, or Character):
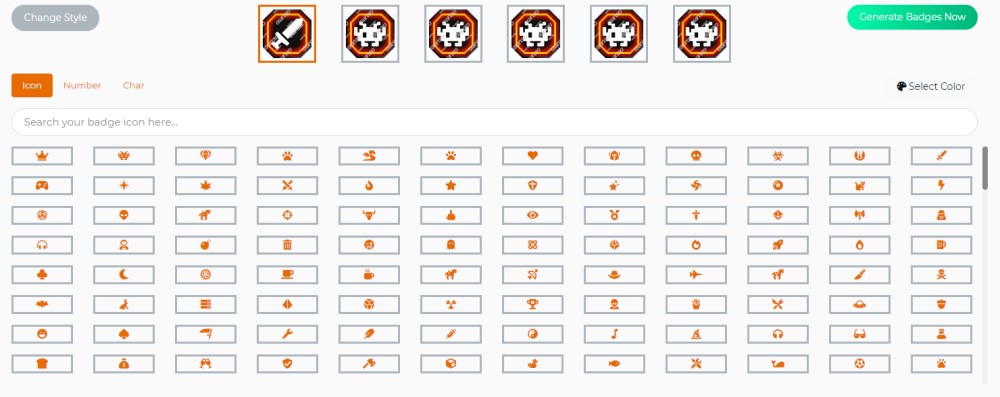
- Step 3: Choose the color of each of your badge elements:

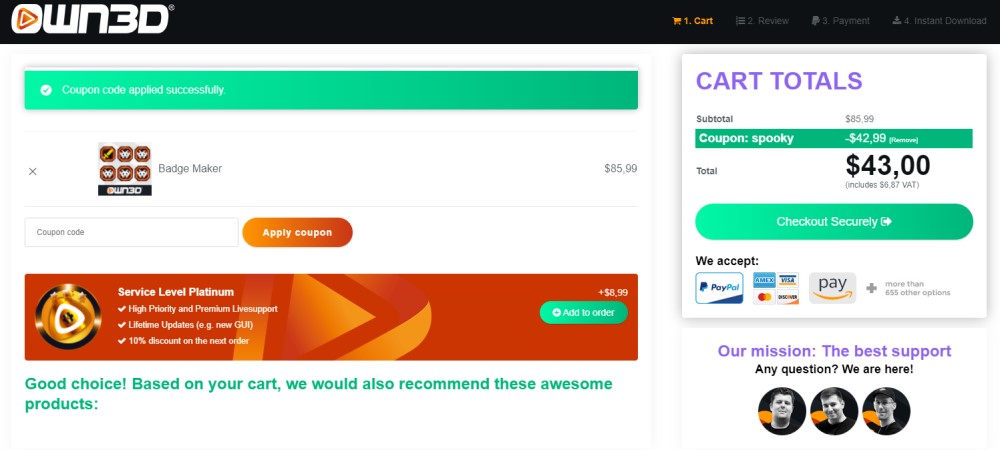
- Step 4: Click ‘Generate Badges Now’, complete the purchase process (make sure to apply a discount coupon as OWN3D usually have a sale on), and download your badges:
- Step 5: Add them to your Twitch account
Pricing:
- $85.99 for the full Twitch sub badge set
- $43 with a discount code (they usually have discounts available)
What we like:
- Super easy and quick to create your Twitch sub badges
- Files are optimized to uploaded to Twitch straight away after download
#3 Crello
Crello is a very similar tool to Canva. It’s an online design tool that has a logo maker, YouTube thumbnail maker, YouTube banner maker, and so much more!
They even have some templates for Twitch too including profile banners and offline banners.
You can also create Twitch sub badges with Crello but like with Canva it’s a slightly unconventional method that can produce so good designs if you put a bit of time into it.
It’s possible to create some good designs with a free Crello account as you get 10 downloads per month with their free ‘Starter’ account.
The process of creating the designs is also very similar to Canva!
How to create Twitch sub badges with Crello:
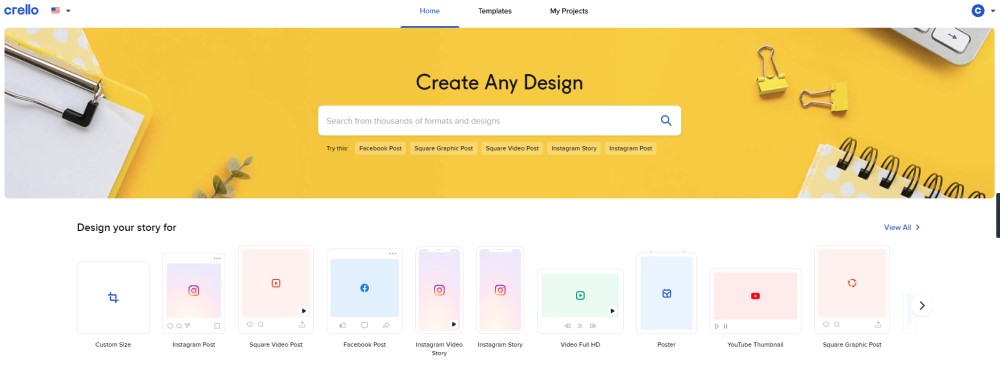
- Step 1: Log in to Crello and get to the homepage. Click on the ‘Custom Size’ option and in the popup enter a square dimension e.g. 500x500px then click ‘Create Design’:

- Step 2: Go to the ‘Objects’ tab on the left side menu:
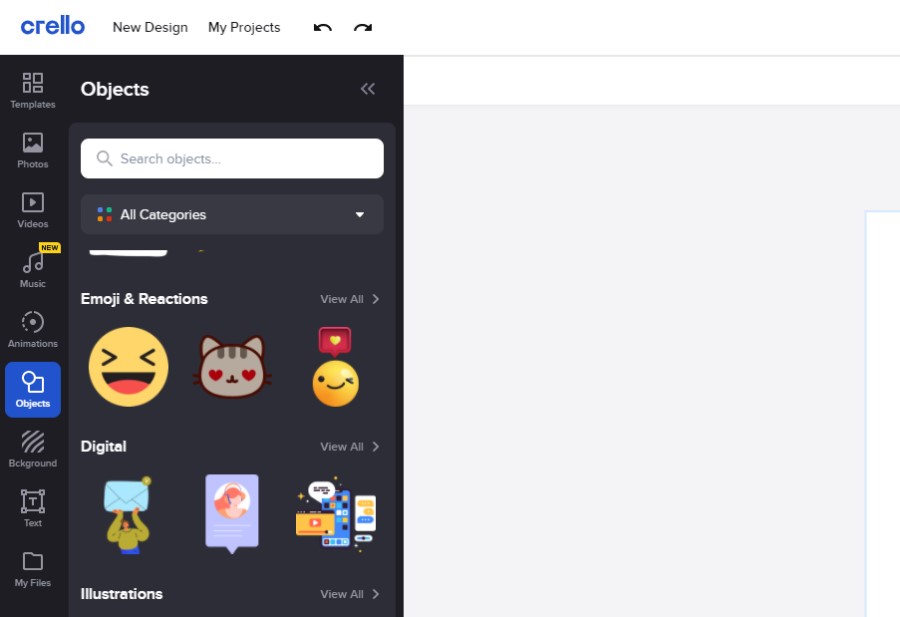
- Step 3: Browse the object categories and choose one that looks interesting, or search in the search bar for specific elements for your sub badge e.g. we’ll search for ‘ice cream’:
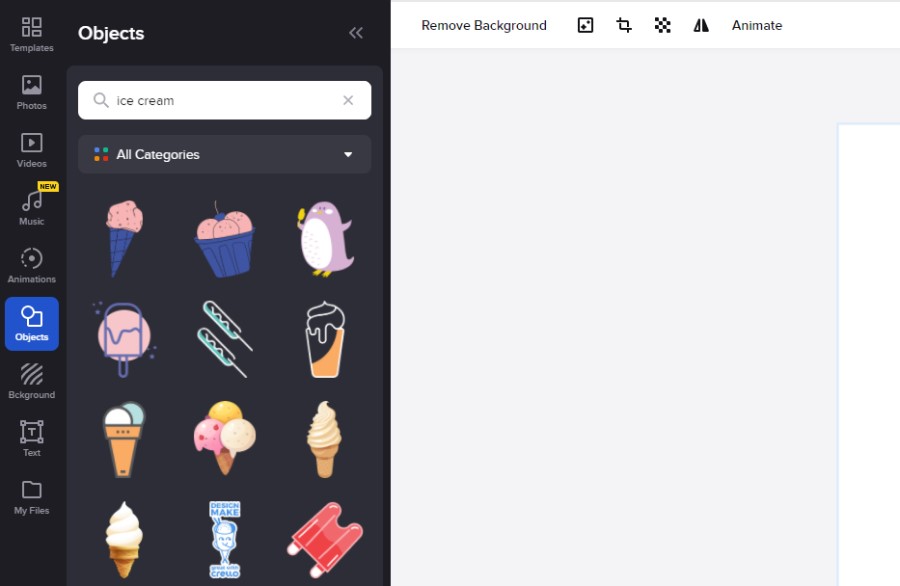
- Step 4: When you select an object it will appear on the main canvas. You can now customize it by resizing, repositioning it, and also by changing the colors (note, it’s not possible to customize the colors on all the objects on Crello):
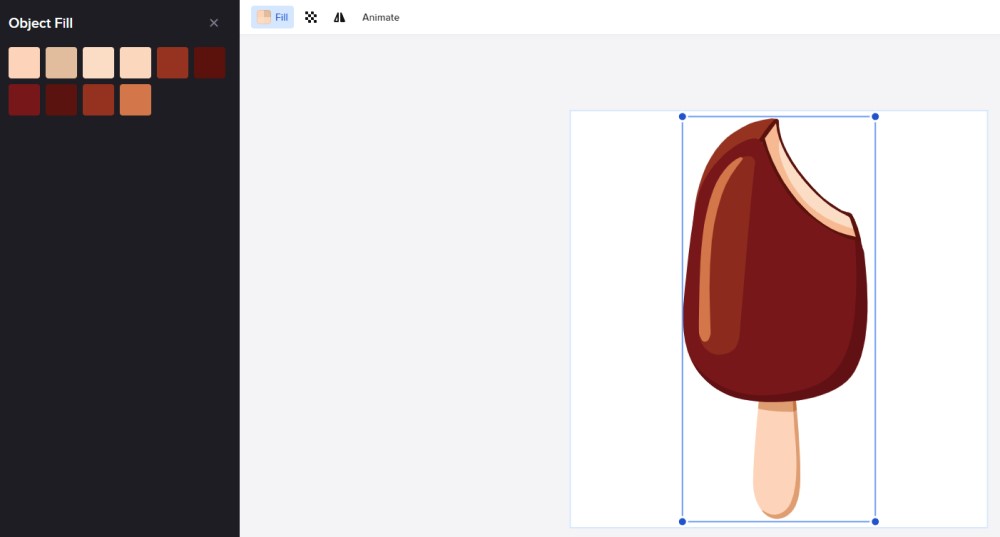
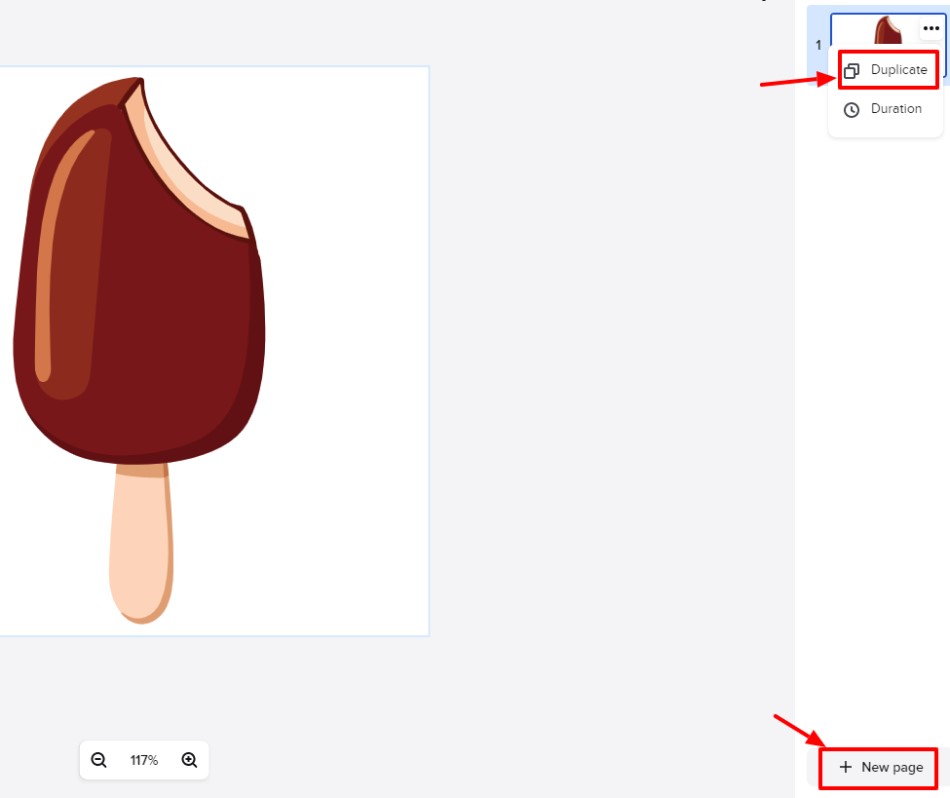
- Step 5: You can add other objects by browsing and searching in the objects tab, or if you’re happy with your first sub badge design you can add a new ‘page’ by clicking ‘pages’ at the bottom right’:

- Step 6: You can now either add a new page by clicking ‘+ New page’ or duplicate the existing design by clicking the ellipsis on the exiting page and selecting ‘Duplicate’:
- Step 7: Repeat this until you have 6 versions of your sub badges, and then click the ‘Resize’ button at the top right.

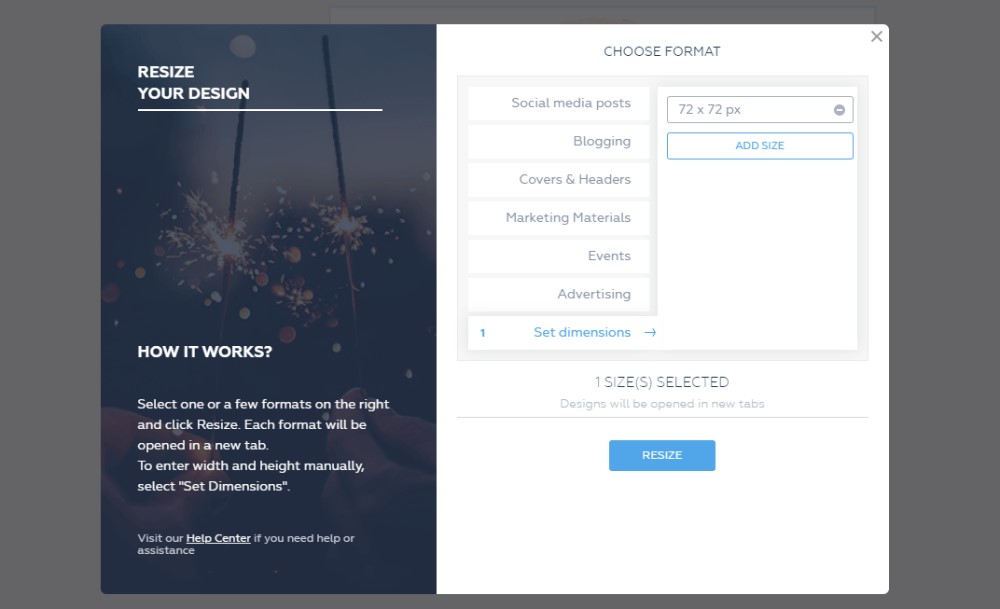
- Step 8: In the resize popup click on the ‘Set dimensions’ option and then input the first file size you need for the Twitch Sub Badges requirements which are 72 x 72 pixels, and click resize (the resized designs will appear in a new tab):
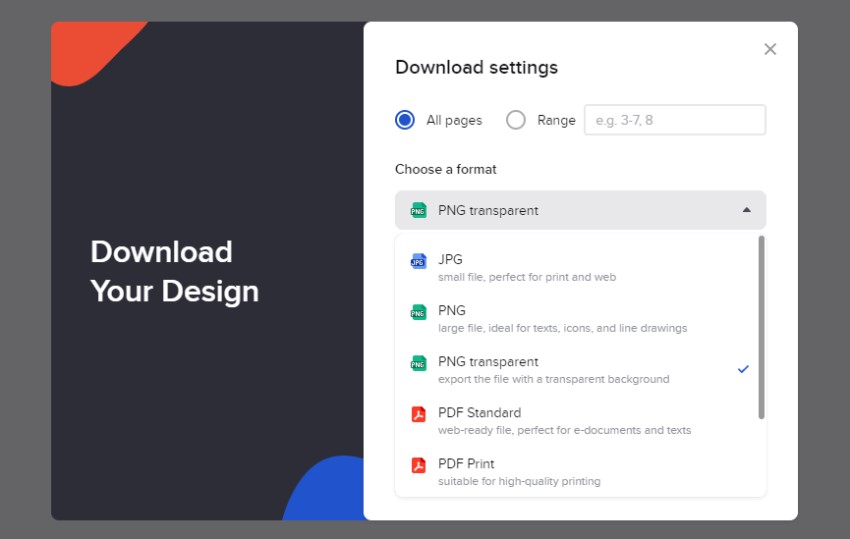
- Step 9: You should have all 6 designs resized in the new tab. If that’s the case click ‘Download’ at the top right and download all the designs in the ‘PNG transparent’ format, so they’ll all have transparent backgrounds:
- Step 10: Move the downloaded design files to a relevant folder on your computer and then use a program like Paint 3D or an online tool like Kapwing to resize the designs so you have all the required file sizes (72x27px, 36x36px, and 18x18px). Unfortunately, it’s not possible to do it on Crello as the smallest file size is 50x50px.
Twitch sub badges we made with Crello (for free):
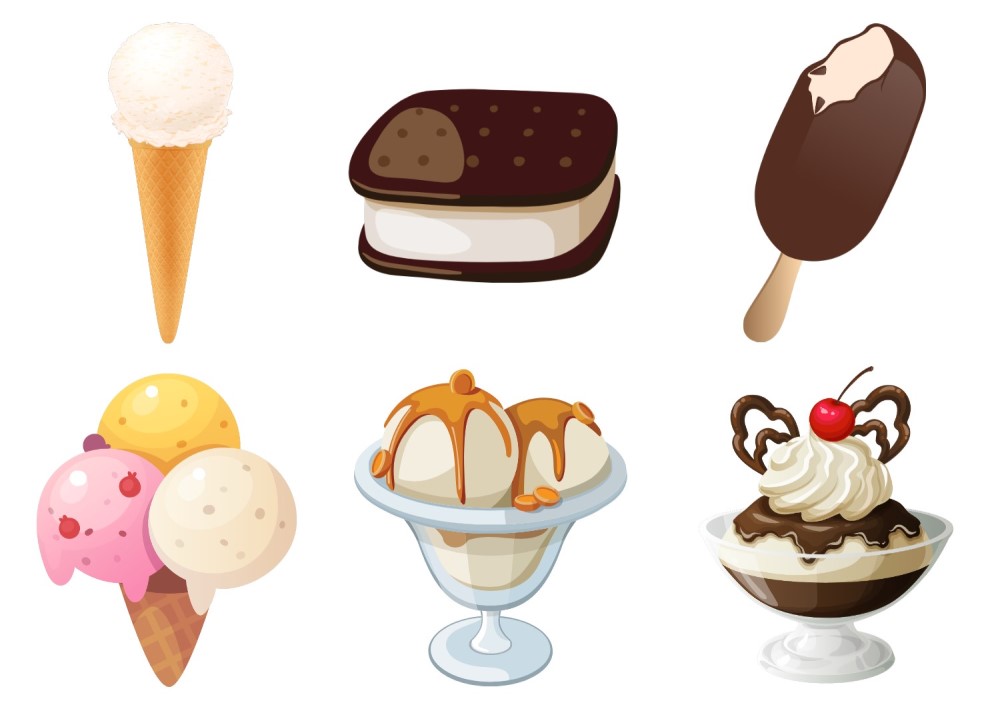
And just for fun we also made these ones:
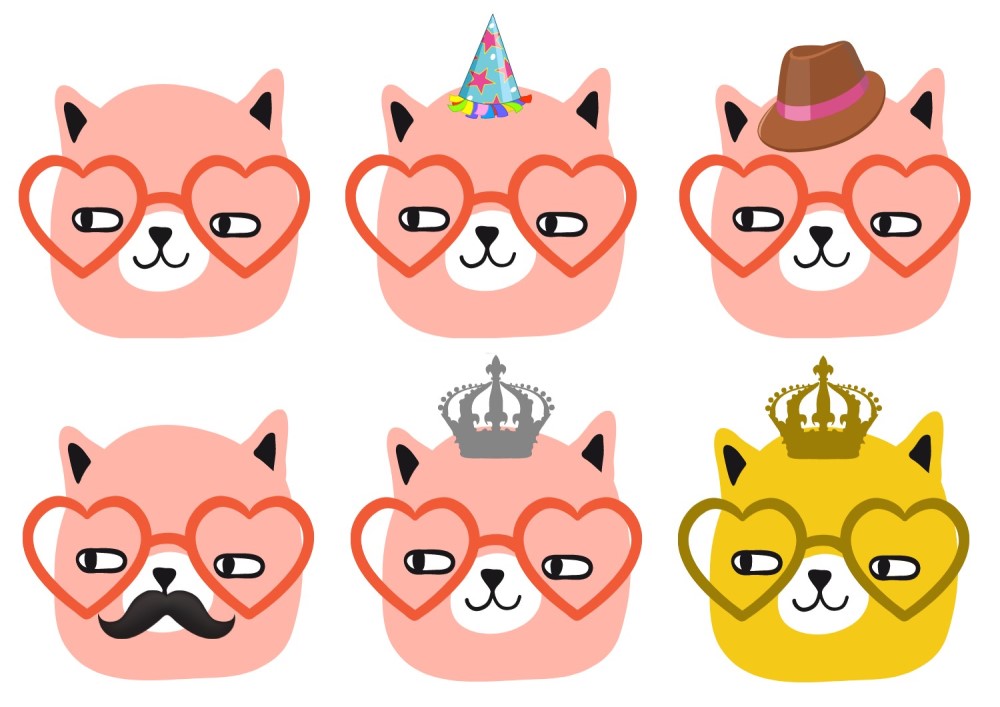
Pricing:
- 100% Free!
- Unlimited downloads with a monthly subscription ($7.99 per month)
What we like:
- Create some unique sub badges
- Free to download designs with transparent backgrounds
- Easy and intuitive interface
#4 EmotesCreator: Twitch Sub Badge Maker

If you don’t have the design skills to create your own Twitch sub badges using a tool like Adobe illustrator but you still want to create your own then EmoteCreator’s Twitch sub badge maker could be a great option for you.
Like their Twitch emote maker, the tool is incredibly easy to use. You simply choose the elements you want for your twitch sub badge, customize the colors, and download. It only takes a few minutes to make something that looks good!
The only downsides are that the customization options are fairly limited, and they currently don’t offer a huge range of different elements. We’re hopeful they’ll continue adding more and more quality design elements and customization options though.
It would also be good if they added the ability to create sets of badges rather than create each one individually – but this is something we think they’re adding soon.
How to Make a Twitch Sub Badge with EmotesCreator:
- Step 1: Go to their Twitch sub badge maker, go through the different tabs (Base, Icons, Letters, etc.) and choose the elements you want for your badge:

- Step 2: Choose the colors of your badge elements. You can choose custom colors too by clicking the color picker icon on the right-hand side:

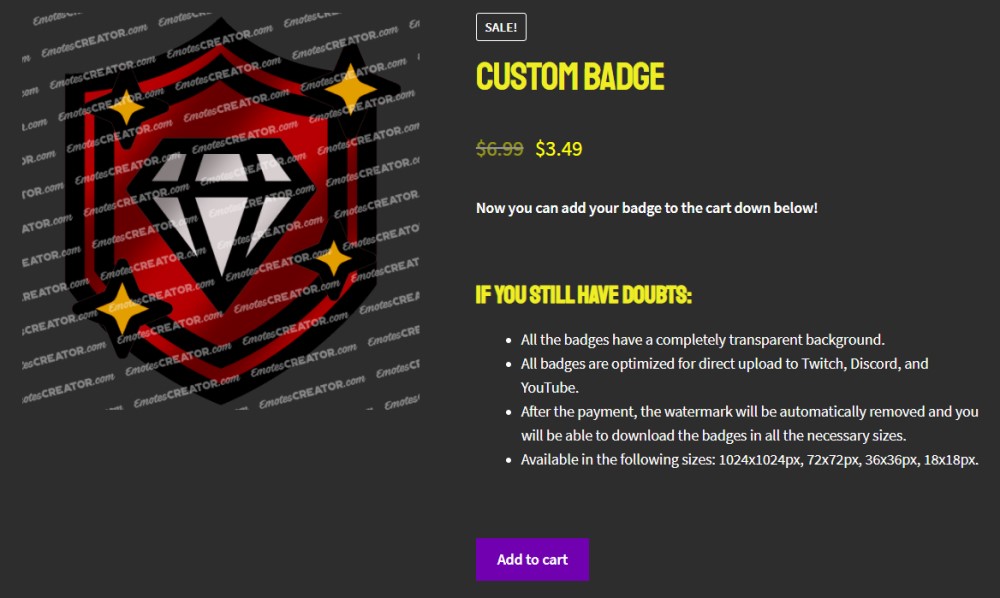
- Step 3: Save your Twitch sub badge design – this takes you to a summary page for your badge design and outlines some of the details about the purchase (e.g. You 4 file sizes which cover what you’ll need for Twitch):
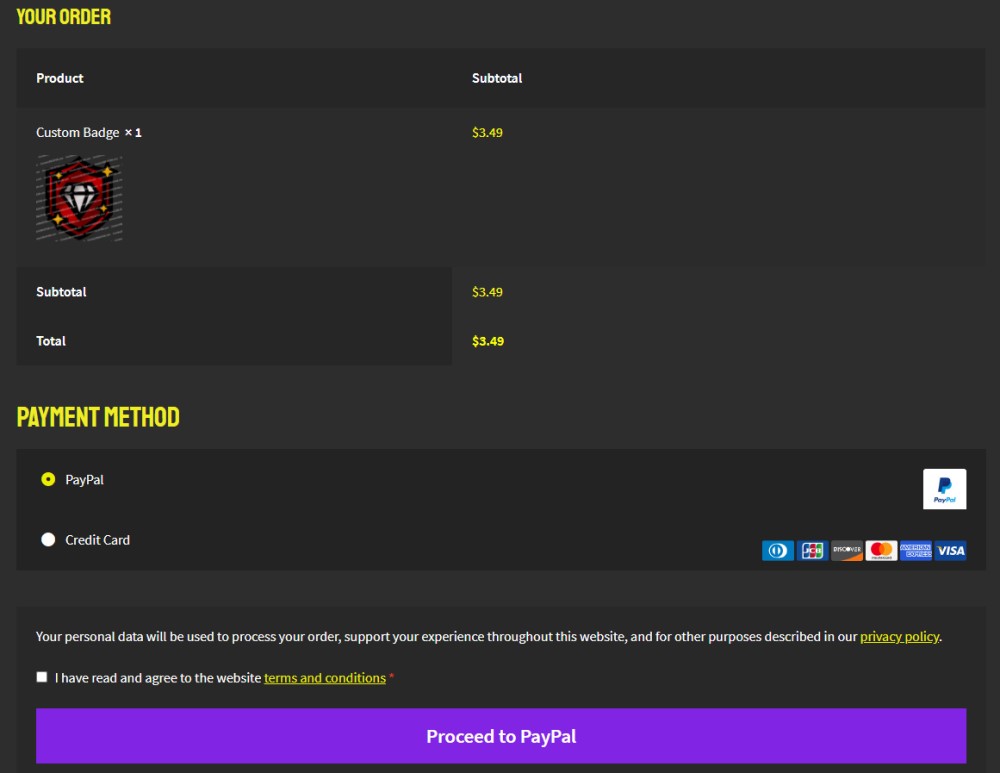
- Step 4: Click ‘Add to cart’ and then complete the purchase. You can currently pay via PayPal and Credit Card:
- Step 5: Repeat the steps above and create some more versions to have a complete set of sub badges for your channel
- Step 6: Add them to your Twitch account
Pricing:
- $3.49 for each Twitch sub badge
What we like:
- Incredibly easy and quick to create your sub badges
- Create good looking designs in no time
- Very affordable – you can create a whole sub badge set for $20.94
#5 Other Resources
Resources and advice on Twitch sub badges:
Get free Twitch sub badges:
To conclude…
So, there you have 4 Twitch sub badge makers for you to try out.
You can create some pretty cool and unique designs with the aforementioned tools but if you’re after very specific and bespoke designs you should find a designer from Fiverr to create the designs for you.
Enjoy creating! Oh, and if you have any questions, comments, or have suggestions for other Twitch sub badge makers or resources, leave a comment below!


Great post