A good YouTube video intro can stick in your viewer’s mind and help tie in your video with all your other branding to make your content seem more professionally packaged.
Before we dive into how to easily create a YouTube video intro, let’s quickly cover what makes a good intro.
Some of the best YouTube video intros have common features that you can replicate to help give your videos the best chance of being successful. So what are these features?
- It has a hook:
This is when you introduce the content of your video to your audience before you roll your animated intro. This will help you in a number of ways – it will let the viewer see and engage with you straight away.
It also lets them know exactly what the video is about, right at the start, so they know they’ll be getting value from it. You can also tease a result or pose a question to spark the viewer’s curiosity and keep them watching!
Here’s a good example of a ‘hook’:
- It’s short:
Once you’ve caught their attention and promised to deliver the results they want, then roll your animated intro. But remember that no-one wants to sit through 30 seconds as your logo rolls. Keep your intro ideally around 5 seconds, no more than 10!
- It establishes your brand
This one might go without saying but just in case it’s not obvious… make sure to include your channel logo or at least channel name in your animated intro to keep everything on brand and build up your brand recognition!
- It includes your brand colours
Similar to the above point, to keep a consistent brand feel with your channel and videos, make sure to include your brand’s signature colour in the intro to keep things consistent and to make your videos more recognizable
Now let’s dive into how to easily create an animated intro (sometimes called a logo sting) for your YouTube videos.
If you want to jump to a specific section of the article click the relevant link below:
- Overview
- Finding & choosing a template
- Customizing the template
- Pricing
- Licensing
- Alternative tools
- Final tips
#1 Overview
In years gone by you either had to learn complicated software such as Adobe After Effects to create your own intro or pay a freelancer via a platform like Fiverr to create one for you.
Luckily there are now plenty of great tools out there (here’s our top 10) that let anyone quickly, easily, and affordably create their own YouTube intro online.
In this article, we’re going to show you how to create an intro in the quickest and easiest way we’ve seen, using an awesome tool called Placeit.
The beauty of Placeit’s tool is that it’s so simple to use! You don’t need any expert skills or technical knowledge like you would when editing an intro template in Adobe After Effects.
What is Placeit?
For the uninitiated, Placeit is a fully online design tool. With their product, you simply choose one of the many thousands of templates they have, customize it to your liking, and download. It’s incredibly easy!
You can quickly create a whole bunch of things including mockups, thumbnails, t-shirt designs, twitch panels, logos, videos, and a lot more.
You can read our full Placeit intro maker review which goes into more detail on this part of the tool.
Who is the tool for?
If you want full control over every single element of your YouTube intro then Placeit isn’t for you. In that case, we would recommend using Adobe After Effects to create your own or hiring a freelancer on Fiverr to ensure you can customize 100% of your intro.
However, if you’re happy to base your intro off of a high-quality existing template and don’t mind having a smaller set of customization options (which are still more than enough) then Placeit (and other online intro makers) can offer you exactly what you’re looking for.
In a nutshell, if you’re after the easiest (and one of the most affordable) ways to create a YouTube intro then Placeit is a great choice for you.
How long does it take to create an intro?
The time may vary from person to person but it took us around 4 minutes to create one intro, and that’s including searching through Placeit’s library.
For sure you’ll only have to spend between 5 – 15 minutes to create a great looking intro for your YouTube videos.
The best device to use?
We tested out Placeit’s intro maker on desktop and a mobile device and found that the desktop interface is a bit easier to navigate (which isn’t unexpected). So, our walkthrough will follow the desktop interface.
However, we still found the mobile experience to be good. We recommend you check out Dee Nimmin’s video to see the process on a mobile device.
What you need before you get started on your intro
Before you get started on your intro, you’re going to need a few things:
- A logo in a PNG file format with a transparent background (you can create one of these on Placeit too)
- The text/message you want to put in your intro (if appropriate)
- A rough idea of how you want your intro to look and feel (so you can choose a relevant template)
#2: Finding & choosing a template
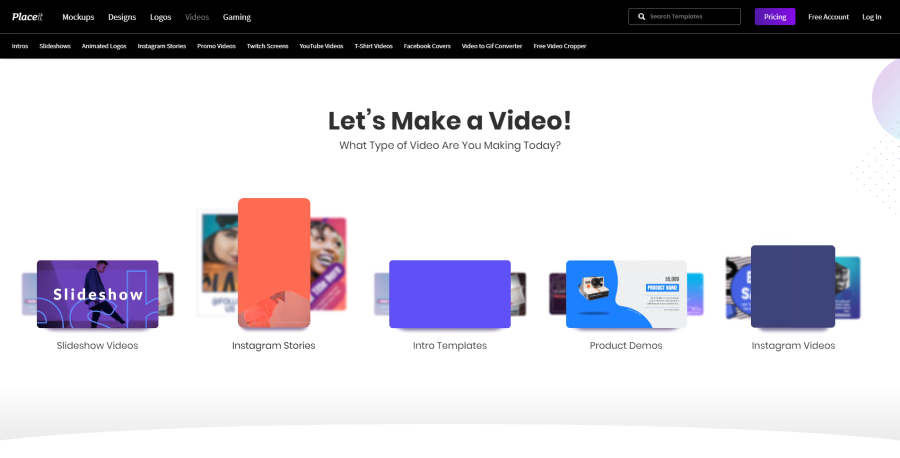
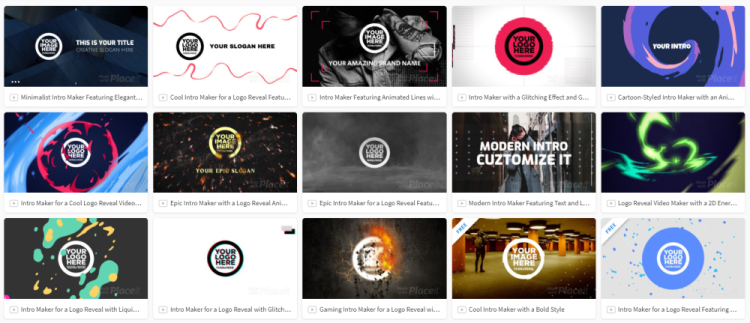
When you arrive at the intro maker area on Placeit you’ll see some templates options, this is probably the longest part of the entire process, picking a template that has what you’re looking for (there’s quite a lot of templates to choose from):
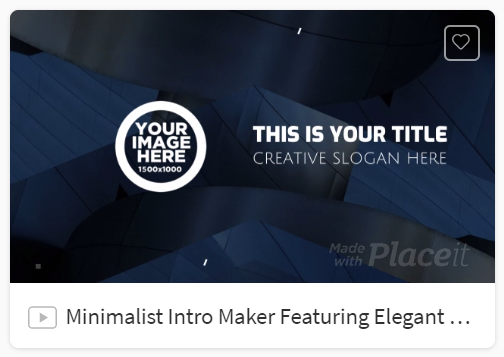
To preview a template just hover on it with your cursor and the animation will play in the thumbnail.
There are a few things you can do here to make your search easier (and more organized):
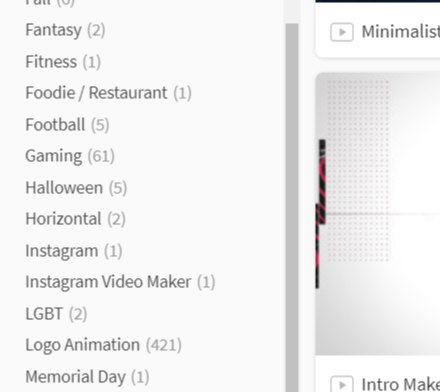
- Choose a category or template type from the left sidebar that covers what you’re looking for e.g. ‘Logo animation’ or ‘Text animation’ or ‘Gaming’, etc.:
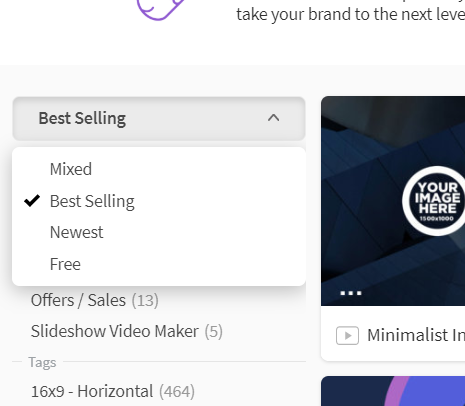
- Sort the templates in order of ‘Best Selling’ to have the most popular templates at the top. This option is under the drop-down menu on the left sidebar:
- ‘Favourite’ any templates you like the look of, and these will be added to your favourites page. To ‘favourite’ a template just hover on it and click the heart icon at the top right of the thumbnail (you’ll need to at least be signed into a free Placeit account to do this):
- When you ‘favourite’ your first template a heart icon will appear next to the top navigation menu. To view all your favourite templates you simply click on that heart icon which will take to your favourites page.
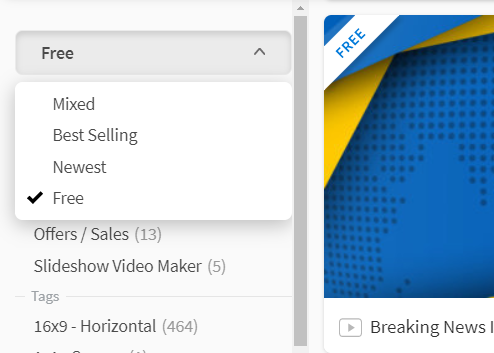
- If you’re looking for 100% free intro templates you can also find these on Placeit. Again go to the drop-down menu on the left sidebar and click on the ‘free’ option to put all the free templates to the top of the list:
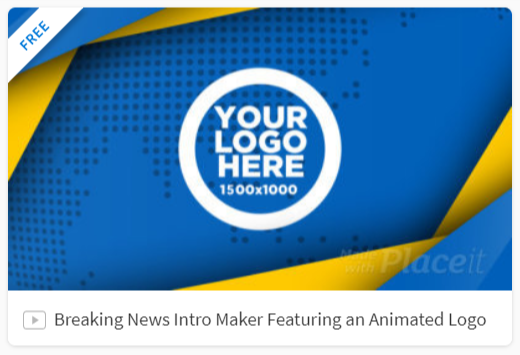
- All the free templates have a ‘FREE’ ribbon at the top left side of their thumbnail:
Once you’ve decided on your chosen template just click on it to go to the editor.
#3: Customizing the template
This is roughly how the editor will look when it loads (there may be some slightly different options depending on the template you choose):
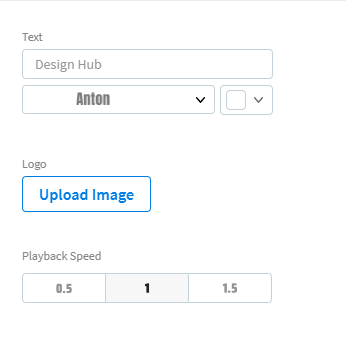
On the left side you have a few customization options to go through:
- You can edit the text (or leave it blank if you don’t need any) including the text colour and font type
- Upload your own image and crop it if you need to (in some templates you get the option to upload multiple images). This is usually where you will upload your logo.
- Choose the playback speed – which allows to slow down or speed up the video animation to your liking (We recommend keeping it short and sweet though so keep to either speed 1 or 1.5. 1.5 will make the intro around 6 seconds long usually)
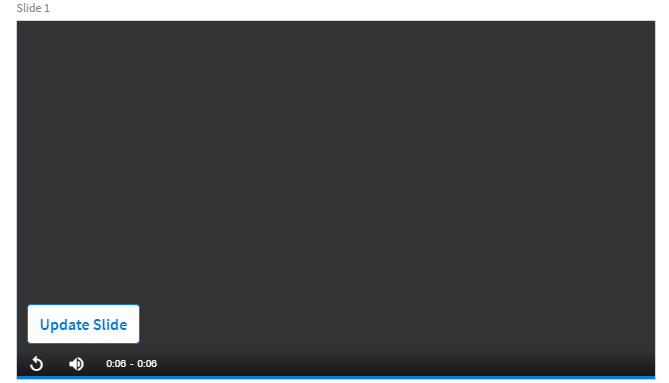
Any changes you make will be previewed straight away, you just need to click the X and then click on ‘Update Slide’ to preview your changes e.g. we changed the intro text font and playback speed and this is how it looked:
If you want to save your edits and come back to them later you can do so, but you’ll need to create a Placeit account (free signup) if you want to do this.
You just click on the save icon (floppy disc) at the top right of the template editor and this will saved to your account for you to come back to later.
On the right side of the editor there are some more options:
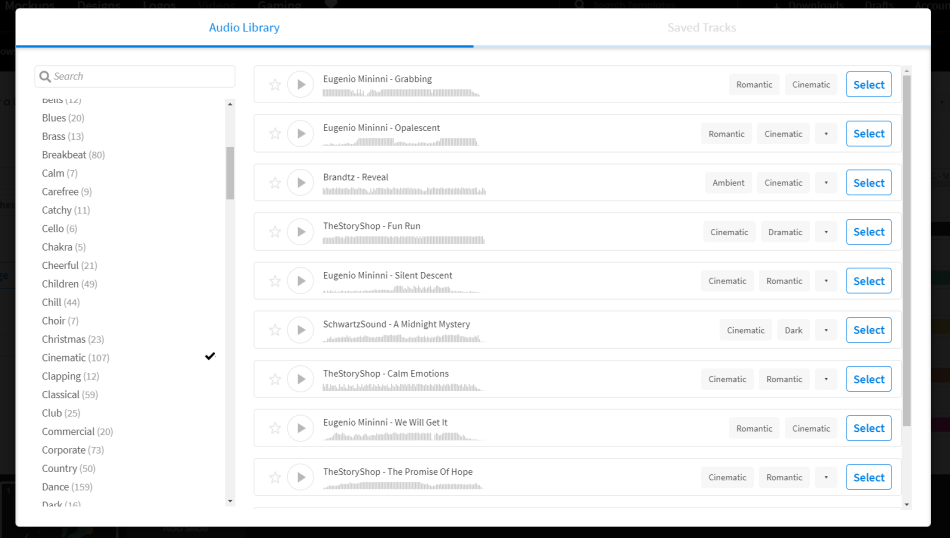
- You can choose the audio track for your intro (there are lots and lots of copyright-free tracks to choose from) or uncheck the box to not use any tracks from the library. To select a different audio track click on the pencil icon and you will be given a whole bunch of options – you can even filter them by the kind of feel you’re looking for e.g. ‘cinematic’ or ‘ inspiring’, etc.
Note: If you’re signed in you can also ‘save’ the favourite audio tracks by clicking the star icon next to your chosen audio track. This gets added to your ‘Saved Tracks’ folder which you can go back to later for easy access.
- Next up is to select the video background colour (in some templates you can also change the background image(s) either by uploading your own image or selecting images from Placeit’s copyright-free image library)
- And choose the colours of the animations in the video – usually colours that go with your brand (the number of options here will depend on the template you choose)
The last area which you can customize is at the bottom of the interface. Here you can add more slides to your video. However, if you’re making an intro we recommend not doing this as you’ll want to keep it short and sweet!
Once you’ve customized the template to your liking click the ‘Play All’ button at the bottom left of the editor to initiate the full video render. This is usually pretty quick (around 30 – 45 seconds depending on the server load and your internet speed).
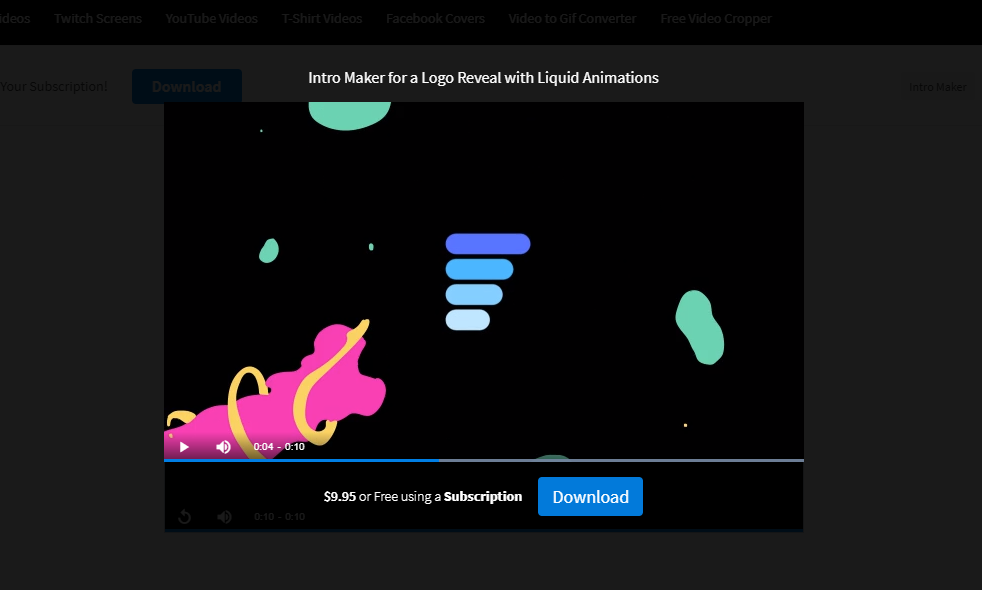
Once rendered the video preview will appear on your screen and play automatically (along with the audio track if you’ve selected one).
Now it’s time to download your template (you need to have signed up for at least a free Placeit account to do this). You can download a free version of the YouTube intro by right-clicking on it and downloading it but it will have a sizeable Placeit watermark on it.
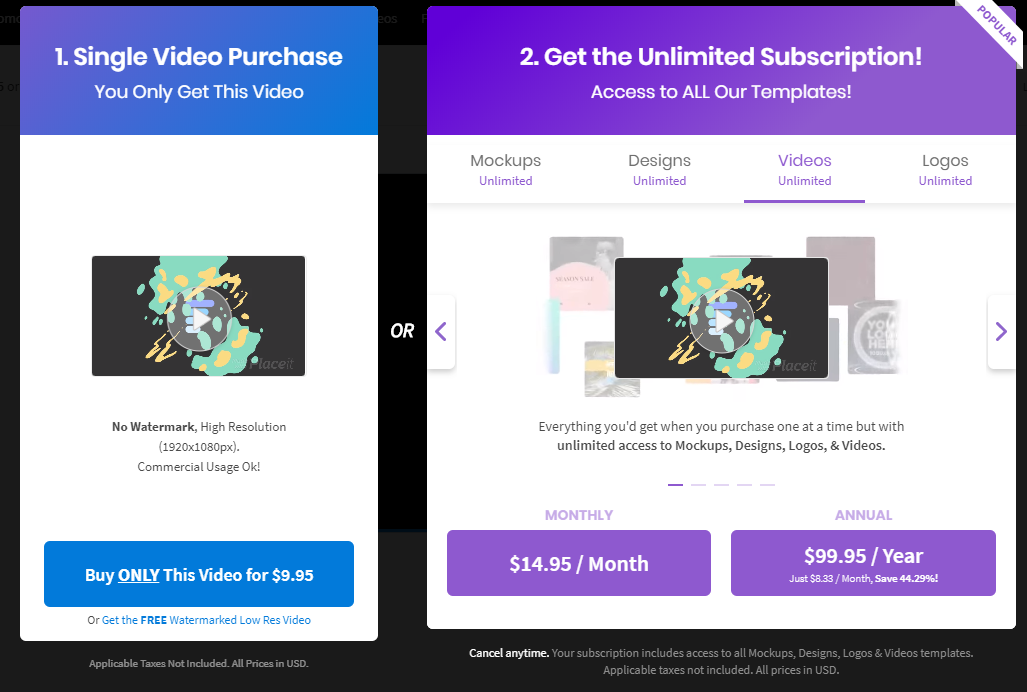
When you click download you will see the pricing options appear (we’ll go through these in detail in the next section) – just choose the option that’s best for you and finalize the process.
Intros we made with Placeit:
These intros look great and took us roughly 3 minutes each to make:
#4: Pricing
As with all the templates on Placeit, you can either buy them individually or get them for ‘free’ if you get a Placeit subscription (which offers unlimited downloads of all templates on the site). Here are the prices for the intro templates:
- 100% free templates
They offer some 100% free templates as we mentioned, so if you check them out and find one you like you’re all set!
- Individual intro template: $9.95
- ‘Free’ with a Placeit subscription
- Monthly plan: $14.95
- Annual plan: $99.95
If you plan on creating more videos, or you think you might use some of Placeit’s other templates such as logos, thumbnails, channel banners, social media posts, t-shirt designs, etc. then we highly recommend you get one of their subscriptions.
If you create just a few designs each month it’s more than worth it! Plus they are always adding new templates.
#5: Licensing
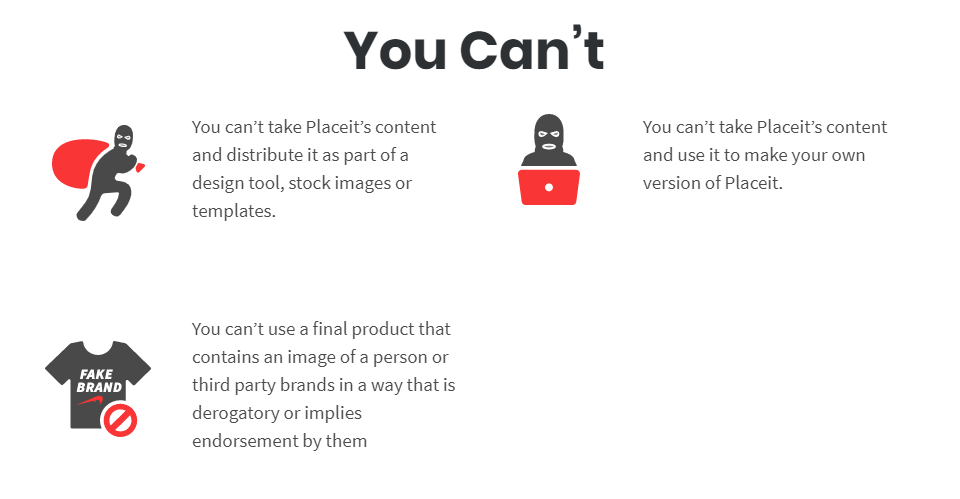
Thankfully Placeit has created a page that outlines their license in a ‘human-readable’ format so everything is pretty clear.
Everything you create on Placeit is copyright free and can be used for commercial purposes. You can even sell and trademark the designs you make on Placeit!
Obviously, all this means you can use any intro your create on your YouTube channel with no problems.
Check out the full details of the Placeit license here.
#6: Alternative Tools (We Recommend)
If you check out Placeit and it’s not quite what you’re after there are a few alternatives that we also recommend.
We tested out a lot of tools when we created our ‘Best YouTube Intro Makers‘ article and there are a few other intro makers that really stood out above the rest:
#7: Final tips
We also wanted to add in a couple of final tips on how to use your intro template after you’ve created it.
Tip 1 – When to use your animated intro:
As mentioned at the start of the article if you’re creating videos where you need to give some kind of introduction to what you’re video is about you should do the following:
Start with a preview of what your video is going to be about to get your viewers ‘hooked’ then after the preview you can jump into your cool animated intro.
That way you’re capturing the attention of the viewer, getting them interested in the topic of your video, and then introducing them to your brand via your quick intro. That’s what we recommend!
Tip 2 – Intro length:
With animated intros, it’s highly recommended to keep them short and sweet. They are a great way to create some brand consistency but people watch your YouTube videos for the content and the value they give, not to watch the intros.
So, between 6 – 10 seconds is more than enough time for an intro (in our humble opinion).
To conclude…
So there you have it, that’s how you can quickly, easily, and affordably create a high-quality intro for your YouTube channel online using Placeit’s intro maker.
No matter what your skill level when it comes to design you will have no trouble creating something that looks great, and since Placeit has so many templates there’s a great chance you’ll find something that works for you no matter what niche you’re in.
Enjoy creating! Oh, and if you have any questions, comments about Placeit’s intro maker, or have suggestions for other awesome intro makers, leave a comment below!


